幻灯片/轮播
jQuery创意响应式两栏滚动幻灯片特效
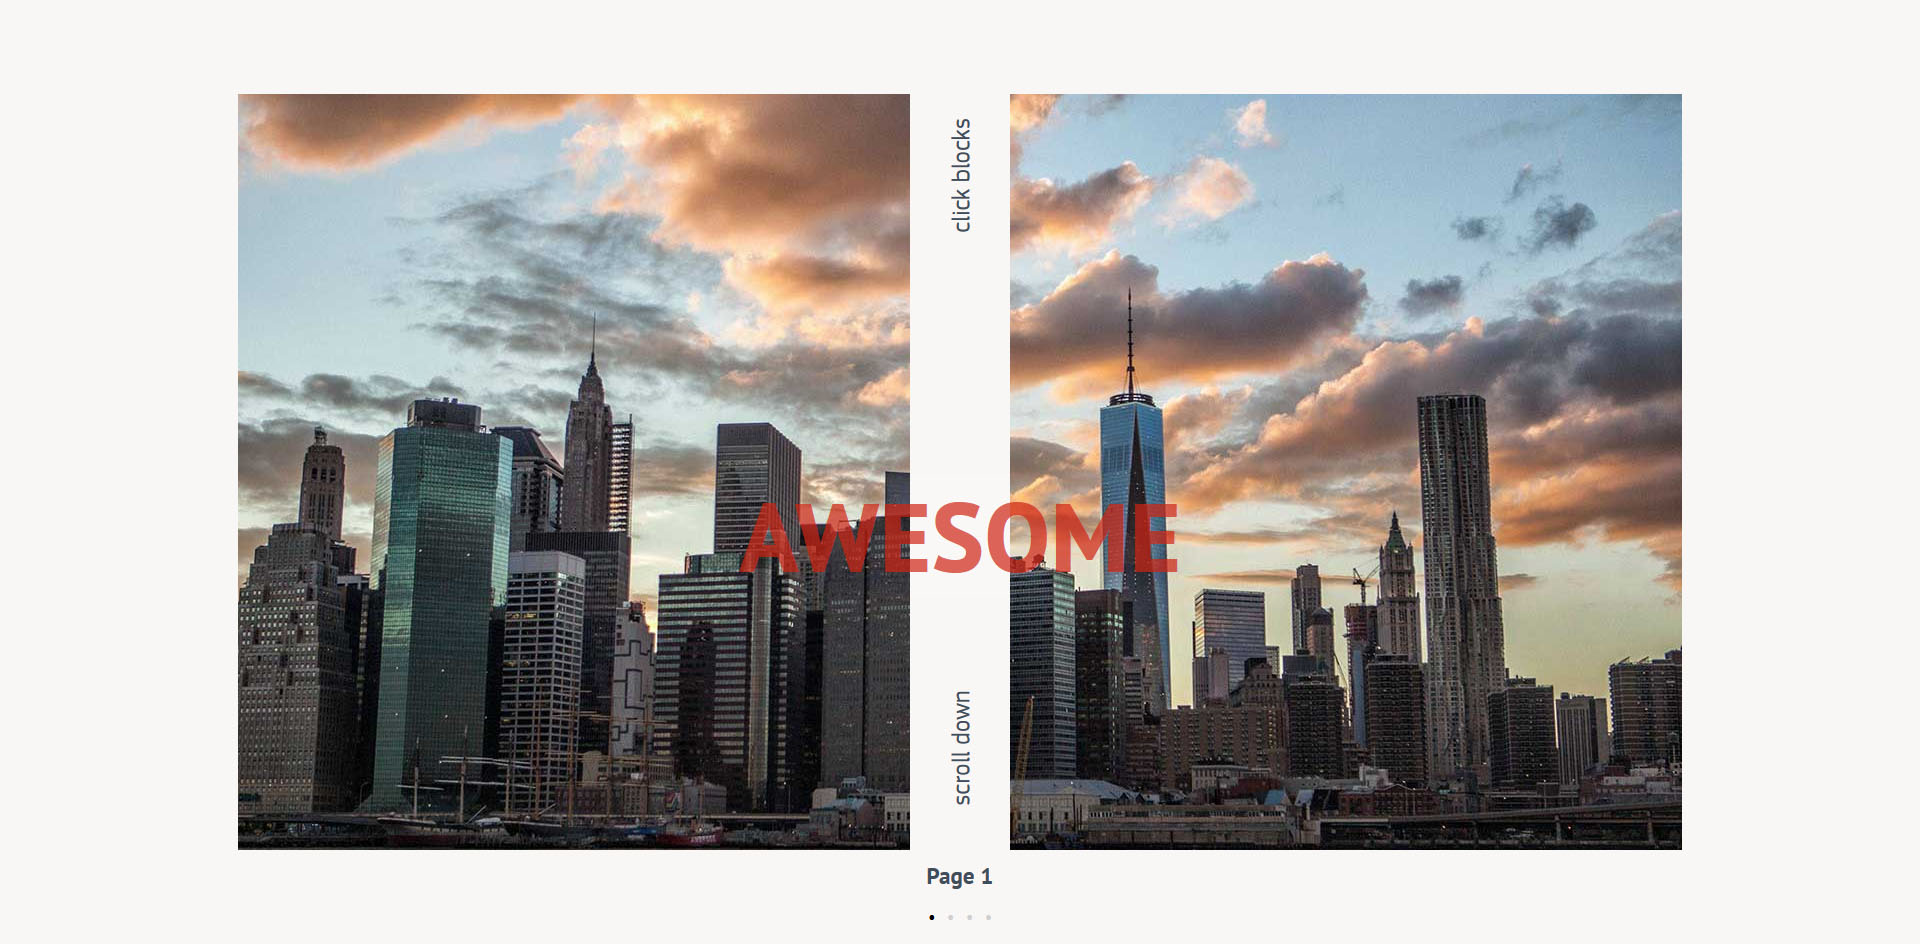
这是一款非常有创意的 jQuery 和 CSS3 两栏滚动幻灯片特效。该幻灯片特效将图片分为两半,在图片滚动切换时一半向上滚动,一半向下滚动,就像图片被切割开一样,效果很酷。
HTML 结构:
每一幅幻灯片分为 3 个部分,第一部分是 div.img-cont.left,这是图片的左半部分,第二部分是 div.img-cont.right,这是图片的右半部分。最后是 div.content,它是点击图片后进入的全屏图片的内容。
也想出现在这里?联系我们吧

<div class="img-cont left cont-2" data-helper="-1" data-blocks="2"></div>
<div class="img-cont right cont-2" data-helper="1" data-blocks="2"></div>
<div class="content cont-2">
<h2 class="title">Page 2 Content</h2>
<p class="content-text">.....</p>
<span class="close">+</span>
</div>
CSS 样式:
在 CSS 样式中,所有图片依次排列,左边的图片依次向下减少 100vh,右边的图片依次向上增加 100vh。座用于制作左右图片的滚动效果,具体的滚动效果实现代码是在 js 中完成的。
.img-cont.cont-2.left {
margin-top: -100vh;
}.img-cont.cont-2.right {
margin-top: 100vh;
}.img-cont.cont-3.left {
margin-top: -200vh;
}.img-cont.cont-3.right {
margin-top: 200vh;
}......
全屏图片的内容开始时是不可见的,在点击了左边或右边的缩略图之后,它被添加 visibleclass,内容变为可见状态。
.content {
position: absolute;
top: 0;
left: 0;
width: 100%;
height: 100%;
display: none;
background: rgba(0, 0, 0, 0.5);
padding: 2rem;
overflow-x: hidden;
overflow-y: auto;
color: #f9bdbb;
z-index: 2000;
}.content.visible {
opacity: 1;
}
CSS 样式:
在 jQuery 代码中,为了实现左右滚动效果,在 HTML 标签中使用 data-helper 实现来标记每一幅图片需要滚动的屏数。data-helper="-1"表示要向下滚动一屏,data-helper="1"表示要向上滚动一屏。然后,在 jQuery 代码中通过解析 data-helper 的值,用这个值乘以 100vh 来作为 margin-top 属性的值,实现滚动效果。
function doMargins(paramPage) {
scrolling = true;
var _page = paramPage || curPage;
$left.each(function () {
var marginMult = parseInt($(this).attr('data-helper'), 10) + _page - 1;
$(this).attr('style', 'margin-top: ' + marginMult * 100 + 'vh');
});
$right.each(function () {
var marginMult = parseInt($(this).attr('data-helper'), 10) - _page + 1;
$(this).attr('style', 'margin-top: ' + marginMult * 100 + 'vh');
});
setTimeout(function () {
scrolling = false;
}, 1000);
}
其它实现代码请参考下载文件。
| 演示地址 | 下载地址 |
专业提供WordPress主题安装、深度汉化、加速优化等各类网站建设服务,详询在线客服!

也想出现在这里?联系我们吧



 PetitQ